Are you ready to earn your stripes?
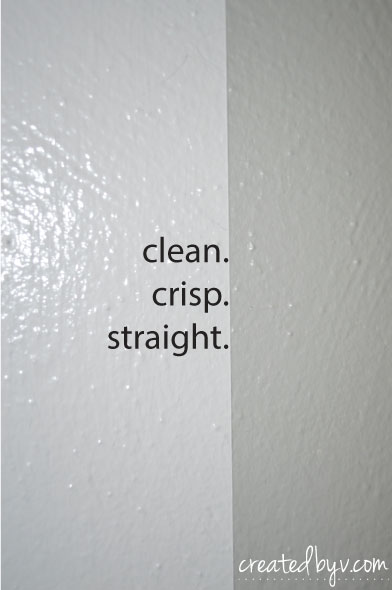
This step-by-step tutorial on painting vertical stripes was developed from my experience renovating our laundry closet. We tried a few methods, but the following is the best for perfectly clean, crisp, straight lines on textured walls. {It’s also super simple!}
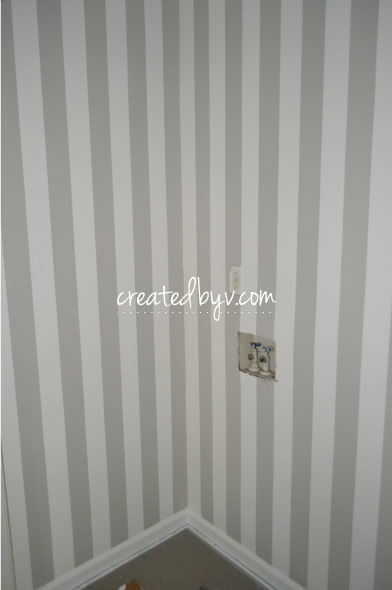
1. Measure your walls to calculate an easy and pleasing width for your stripes. In my case, the back wall measured 66.5″, so I divided that number by 19 to have 3.5″ wide stripes; the side walls measured 36″ so I painted 10 stripes and hid the little excess in the front corners.
2. Paint your walls the lighter of your two colors. For this tutorial, I will reference white (W) for the lighter color and grey (G) for the darker color. Allow paint to dry fully.
3. Starting from your wall’s center point and moving outward, mark ticks with a pencil along the top and bottom of the wall. These marks will serve as your guide for aligning the laser. From my example, I marked 1.75″ from the center point and 3.5″ thereafter. {It was also visually helpful to write a little “G” in the stripes that were going to be painted grey — blame it on Mommy Brain!}
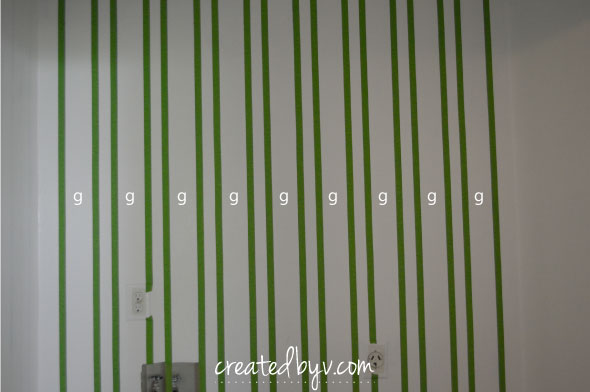
4. Align the laser based on your top and bottom tick marks and firmly apply painter’s tape {opt for the more expensive FrogTape; it’s worth the investment} along the inside of your lighter stripe (W). Don’t worry that your tape doesn’t look symmetrical; some will be closer together (inside of the lighter stripe) and some farther apart (the darker stripe).
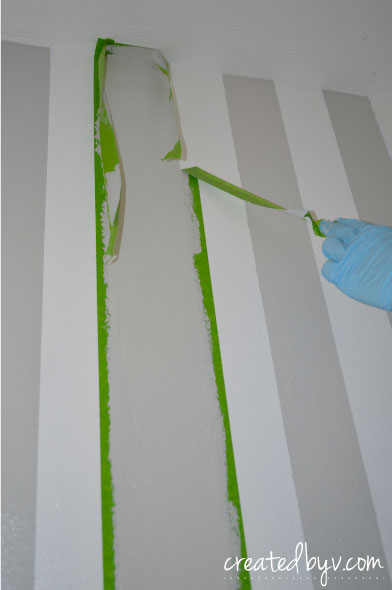
5. Paint a narrow line along the outside edge of the tape with the lighter color (W). This allows the lighter color (W) to seep under the tape where it didn’t seal completely. That bit of paint that seeps under the tape will blend with the existing paint from step 2 and ensure the darker color (G) doesn’t mix. Allow paint to dry fully.
6. Paint your darker color (G) stripes and remove the tape as you go. The tape comes off easier while it’s still a little wet and cleaner at a 45-degree angle.
7. Congratulations, you’ve earned your stripes! Sit back and enjoy your perfectly clean, crisp and straight lines!
*step 5 painting technique sourced from Make It & Love It