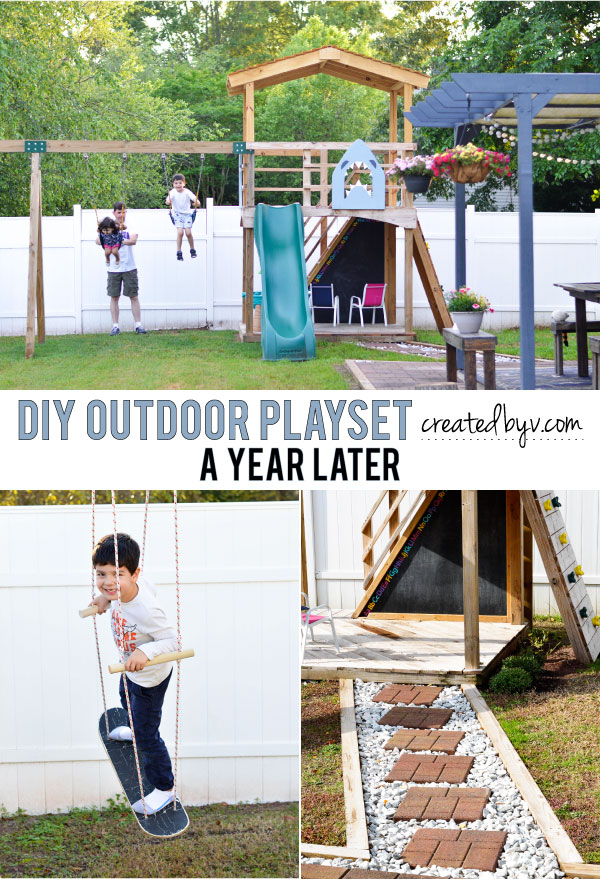
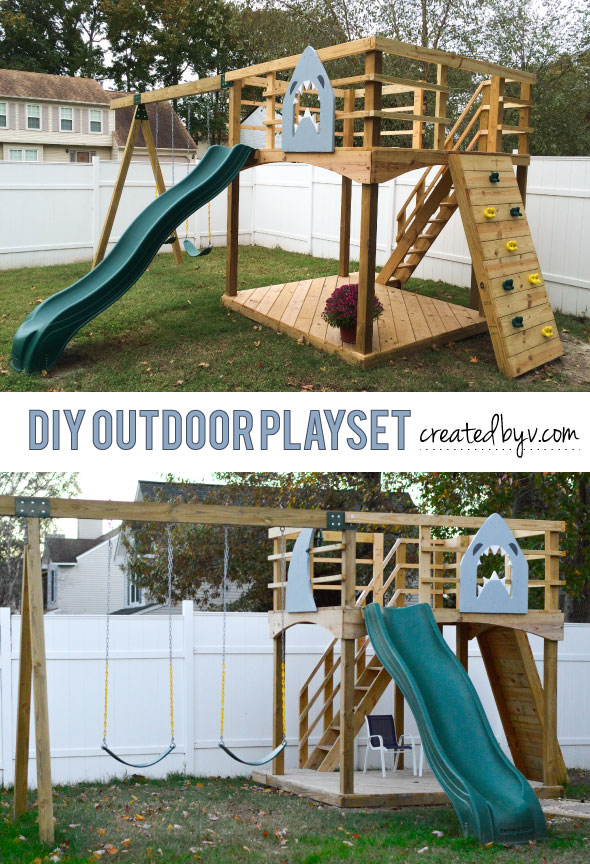
One of our most popular projects has been the outdoor playset we built for our kids in the fall of 2015. I am happy to report that it’s still in great condition — standing up to hurricane winds, downpours of rain and everyday abuses of rambunctious kids. It also continues to be a focal point for our little ones’ entertainment, for which this mama is awfully thankful.

Since then, we’ve made some technical improvements and a few fun upgrades that I’ll share with you today.
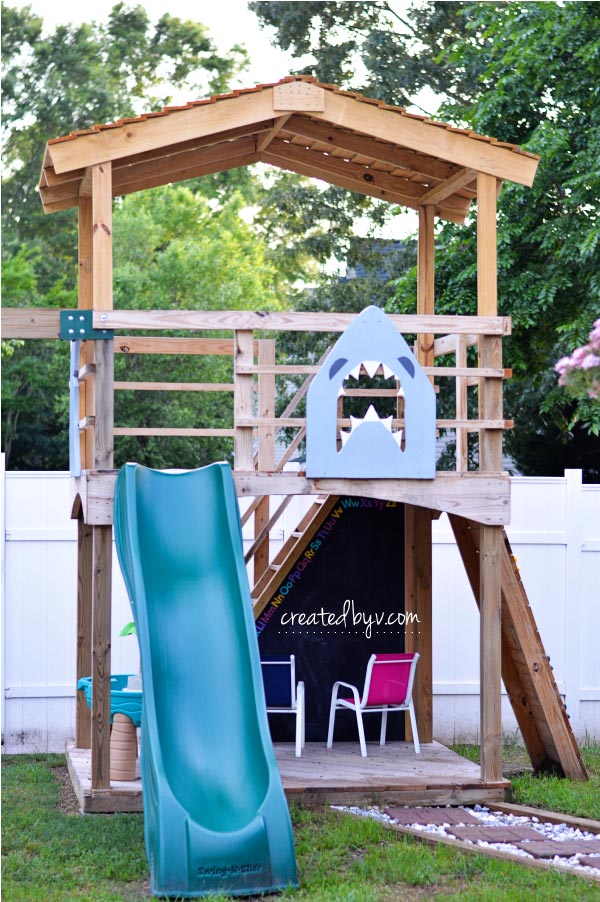
1. Built a Roof
Our backyard bakes in the summer, so we needed something on the upper deck to protect the kids from the harmful rays of the sun. We built a pergola over the backyard patio and shaded it with drop cloth, so we considered a vinyl canopy for the kids playset. In the end, we decided to build a wooden roof as a sturdier, longer lasting option.
The Chief is pretty smart about building things, but his expertise is in metal so he enlisted some help from a computer-aided design (CAD) software program to calculate the necessary dimensions for constructing the roof. He wanted the roof to be 6 feet high in the center (so we wouldn’t bump our heads) and have some overhang beyond the platform. With those two known variables, the CAD program spit out the angles for cutting the birdsmouth and lengths of the boards.
We used pressure-treated 2x4s for the studs and rafters, and saved some money by overlapping fence pickets to form the roof. Now it’s the perfect playhouse for the kids.
2. DIY Outdoor Chalkboard
To up the fun factor, we made an outdoor chalkboard on the bottom deck. We measured the space below the stairs and cut a piece of 1/2″ CDX plywood to fit. We had to join two pieces to fill the entire space, but we placed the joint into a corner where it wouldn’t interfere with drawing; the chalkboard paint covers it up just fine.
We used the same can of Valspar chalkboard paint that was used on my magnetic chalkboard and garden tic-tac-toe board, giving the plywood three coats for full coverage.

I used outdoor acrylic paint in bright colors to form the alphabet along the edge. Here’s how:
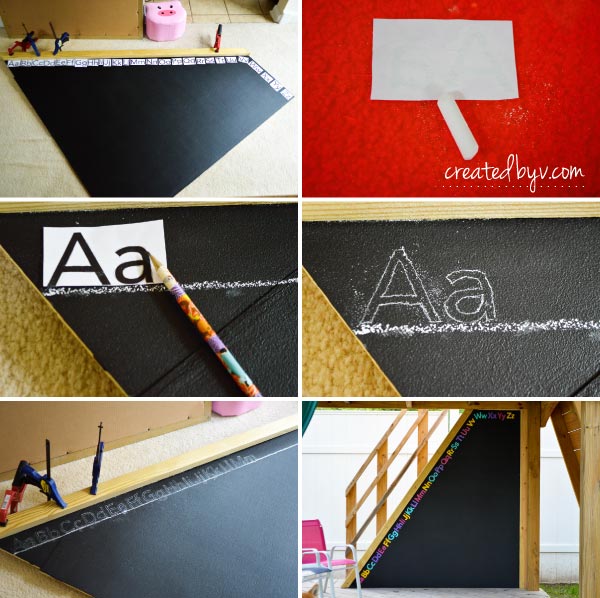
1. Print the upper and lowercase alphabet in the font and size of your preference. Cut the pairs out and position them on the board.
2. Turn the paper over (blank side) and rub chalk over the outline of the letters.
3. Turn the paper back over (printed side) and copy the outline of the letters with a pencil or pen.
4. This is your diy version of a carbon (chalk) copy and now you have an outline to paint in.
5. Continue along with the rest of the alphabet, spacing the letters evenly as you go.
6. Paint in the letter outlines with outdoor acrylic paint. Once the paint dries, give the board a good seasoning and then clean off the chalk residue.
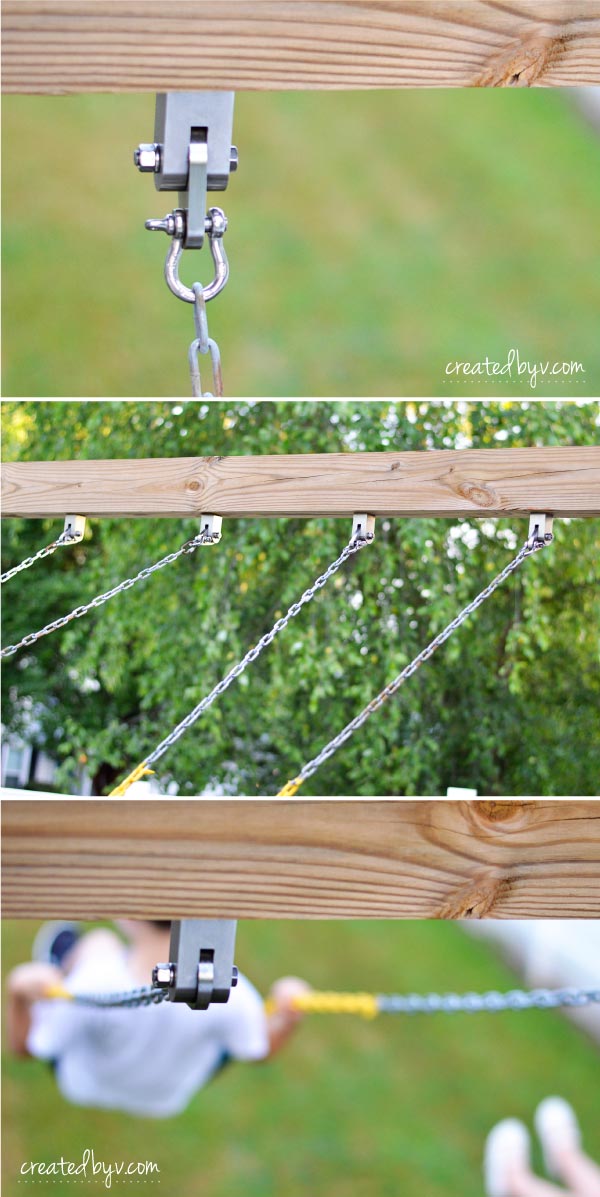
3. Upgraded Swing Hardware
We used 3/8″ eye bolts when we first installed the swings, which were fine but wasn’t our long-term solution. Similar to these heavy-duty swing hangers, the Chief made hangers that use bearings for a smooth, soundless swinging experience. No creaking, no clattering and they swing a little straighter since the chain moves within a groove. And they’re made of stainless steel so they won’t rust in the elements — beauty and function.
4. Laid Down a Walking Path
We expanded our cement patio with paving stones and added a lovely walking path to the playset. The kids often pretend the white rocks are hot lava and jump from paving stone to paving stone.
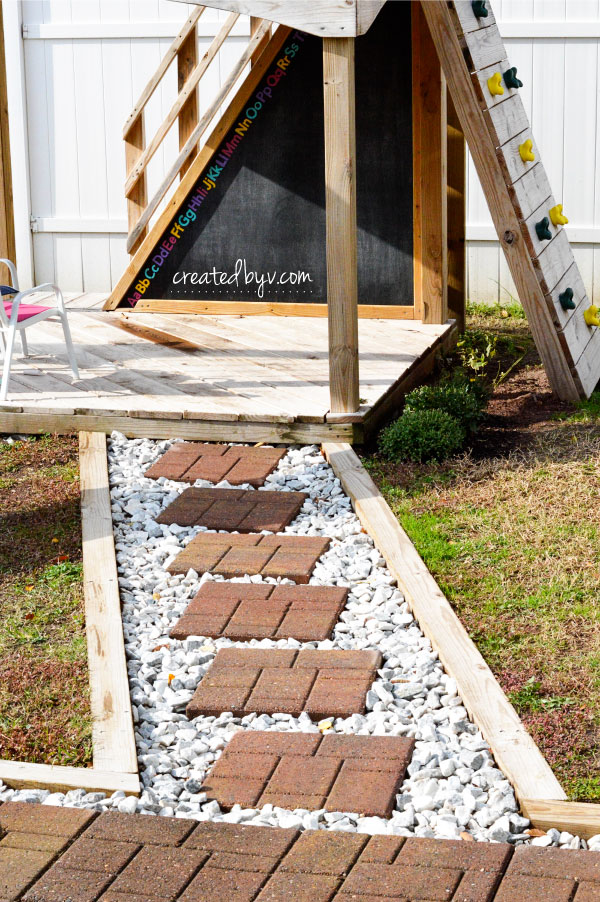
When we first laid the path, we used pea gravel, which became a problem after a play date with friends had rocks strewn all over the yard and made mowing the lawn hazardous duty without pay. We exchanged the pea gravel for these larger marble rocks that are easier to put back in their place. (The Chief may well have concreted in the bottom layer, too. He has a thing for concrete.)
These larger rocks also serve another purpose: filling the empty space beneath the bottom deck. A field mouse took refuge in there and was driving our dog bonkers. Filling in that space — and a well-placed mouse trap — solved that problem.
I planted my fall mums and a vinca clipping along the side beneath the rock wall, and look forward to adding more landscaping in the warmer months to come.
5. Installed a skateboard swing.
To keep things fresh and fun, we added a standing swing made from a thrift store skateboard.
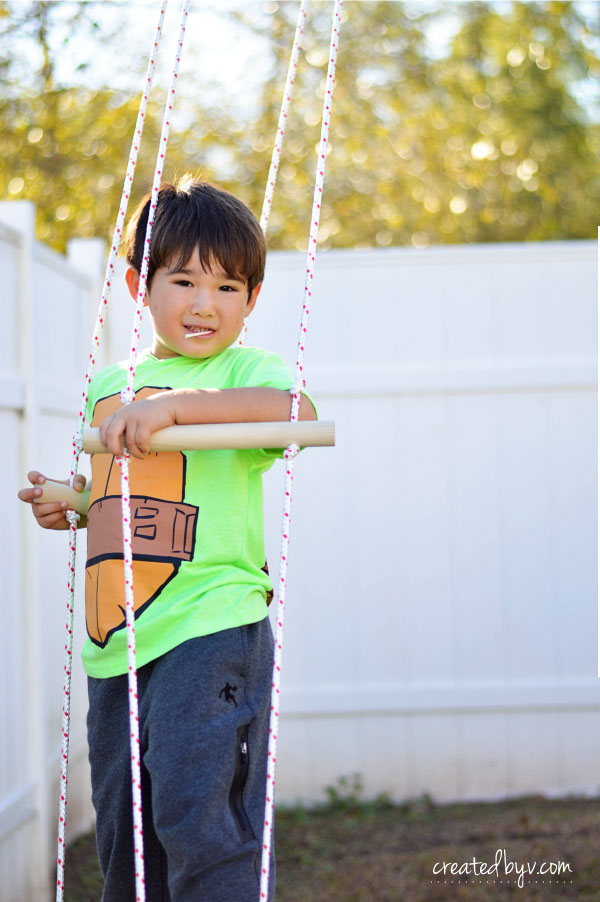
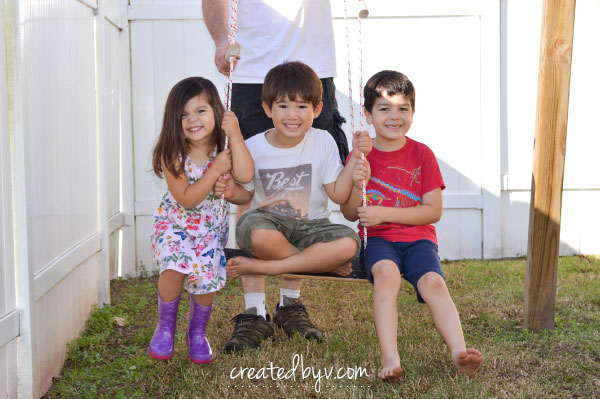
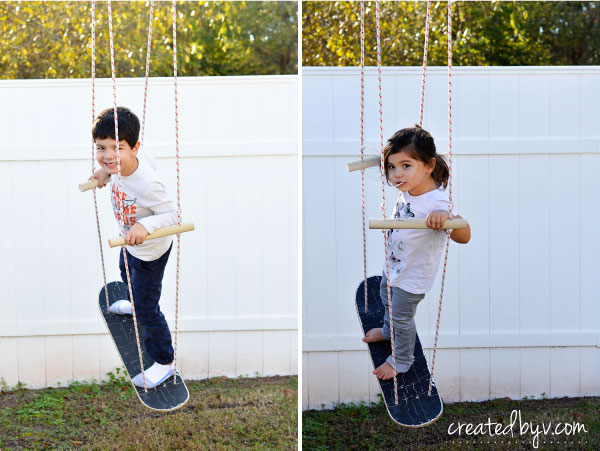
The kids really like it, but they can’t swing very high on their own — which means Mommy or Daddy has to push them. Our littlest has taken to lying on it while swinging so we left it facing sideways. For a change of pace, the skateboard swing can be replaced with a trapeze swing bar and rings as well.
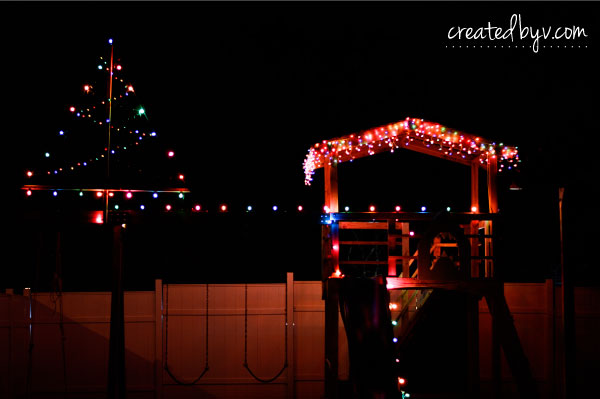
6. Hung holiday lights for Christmas.
Although we didn’t have any lights on the front of our house, the Chief made a special light display for the kids on their playset. The kids clamored to plug in the lights each night and were touched that their Daddy did it just for them. I can’t wait to see what he comes up with next year!
The only negative of the playset after a year is that it’s starting to turn black in places from the weather even though we used all pressure-treated wood. It’s only surface mildew and not a structural issue, so it’s a cleaning project for the summer. Perhaps a stain treatment will protect it further.
All in all, it is the perfect addition to our backyard for easy access to play. The kids host tea parties on the upper deck, draw sharks and practice letters on the chalkboard, zip down the slide and swing to their hearts’ content. I couldn’t be happier.
Based on a number of requests from readers, we pulled together a Materials & Tools List as a resource. Should you have any additional questions, feel free to leave them below. Thanks for reading! — v.


Hi! Repeating a question asked above that we were also wondering but dont see a response for.
What type of bracket did you use to secure the 4×6 to the upper level? On the one side you used an A frame bracket but what about the other side?
What type of bracket did you use to secure the 4×6 to the upper level? On the one side you used an A frame bracket but what about the other side? I love this design!!
Are the floor joists 2×4’s?
Yes, they are 2x4s. Thanks for reading, Martin!
What fun! The skateboard swing is such a cute idea!
I saw a Swurfer for $130 and knew I could totally DIY it for a LOT less… per the usual, right?! Mine cost maybe $10 and the kids LOVE it. Thanks, Kathleen!