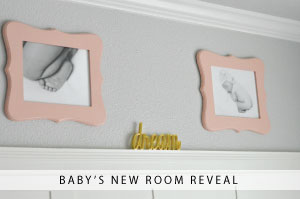
After the success of my DIY ping pong ball lights on our patio, it was an easy jump to consider using the same concept to make vintage theater-style marquee lights. And since I had a handful of ping pong balls left, I set my sights on making a stylish and fun monogram for my son’s room.
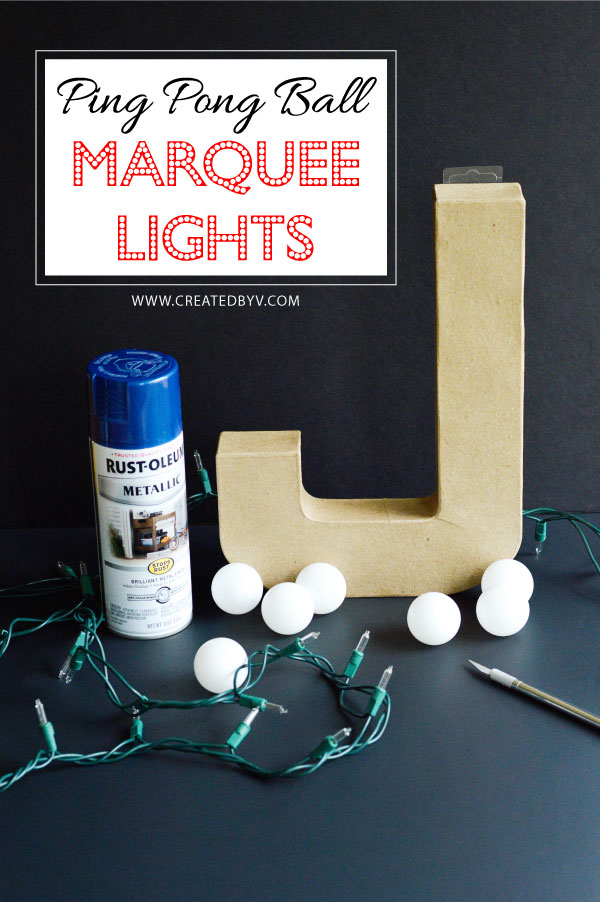
Here are the supplies I used:
- 12″ paper mache letters
- spray paint
- x-acto knife
- ping pong balls
- 50 white string lights
(STEP 1): Start by cutting off the face from the paper mache letter with an x-acto knife.
Slide the blade into the edge and carefully follow it along. Go all the way around the letter, then pry up the top and remove.
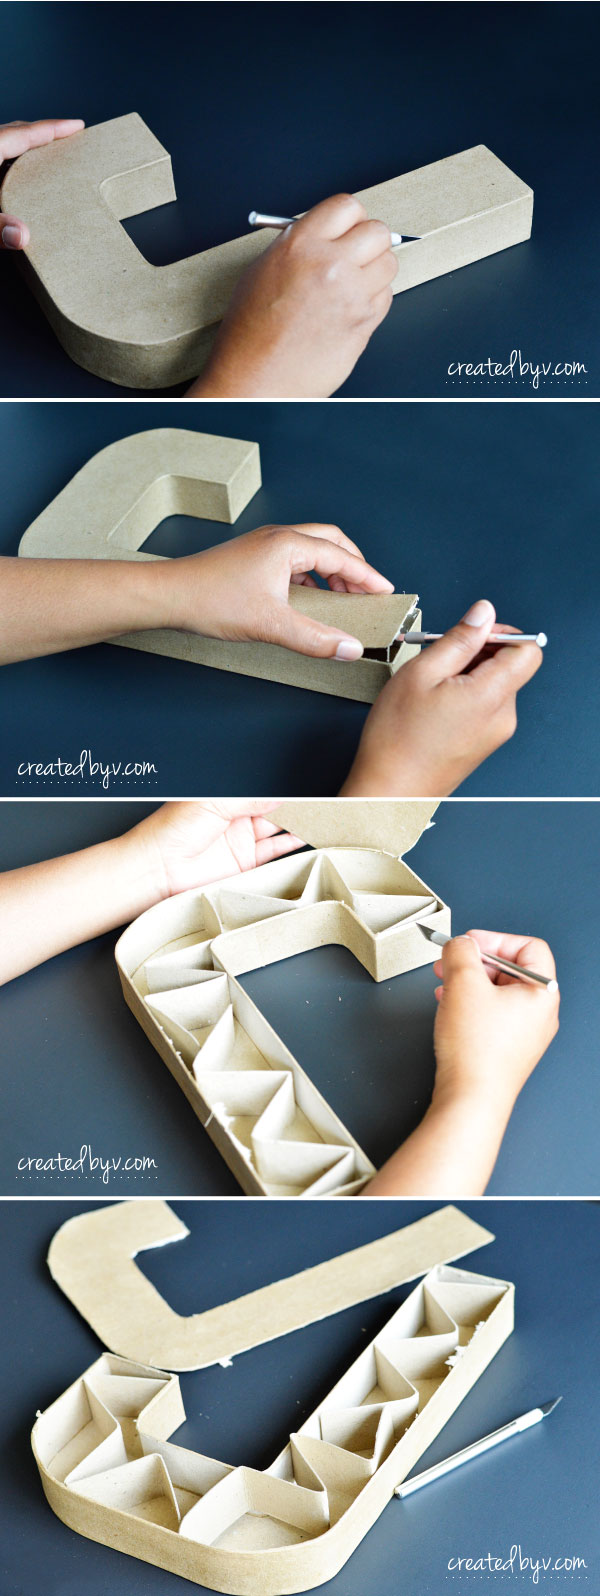
You can clean up the edges with a piece of fine-grit sand paper. The face and inside cardboard pieces can be discarded and recycled.
(STEP 2): Measure and mark the placement of lights on the back of the letter.
I started by marking center lines and then marking an “x” for where each light would go. I marked the first light at about 1-1/4″ from the top and used the ping pong balls as a guide for spacing out the rest of the lights. It was not at all scientific; I just eyeballed it.

Once I was satisfied with the placement of lights, I cut an “x” with an x-acto knife at the spots indicated. Then I went back and punched a hole using the blunt end of the knife.
Here are a few tips from my experience: (1) easily align lights on the same horizontal line; (2) don’t space the “x’s” farther than the distance between string lights or else you’ll have more lights and wires to hide on the back.
(STEP 3): Spray paint the letter.
I gave my letter two even coats, and then went back and filled in the nooks and crannies.

Be sure to let the letter dry completely before handling.
(STEP 4): Push string lights through the back of the letter.

Using the same technique as with the DIY ping pong ball lights, cut an “x” along the center line of the ping pong ball with an x-acto knife. Push the ball onto the light.
Now you have your very own touch of Broadway!
(STEP 4): Hang on wall or set on mantel to display.
Before I hung the letters to the wall, I taped the cords neatly on the back. I then used small wire nails — taking care to avoid damaging the wires — to attach them securely to the wall. I placed the nails where the ping pong balls would naturally hide them and made sure the letters were even with the help of a level.

The only thing I’m not wild about is the excess cord showing now that they’re hung. But the end result is still pretty stunning!
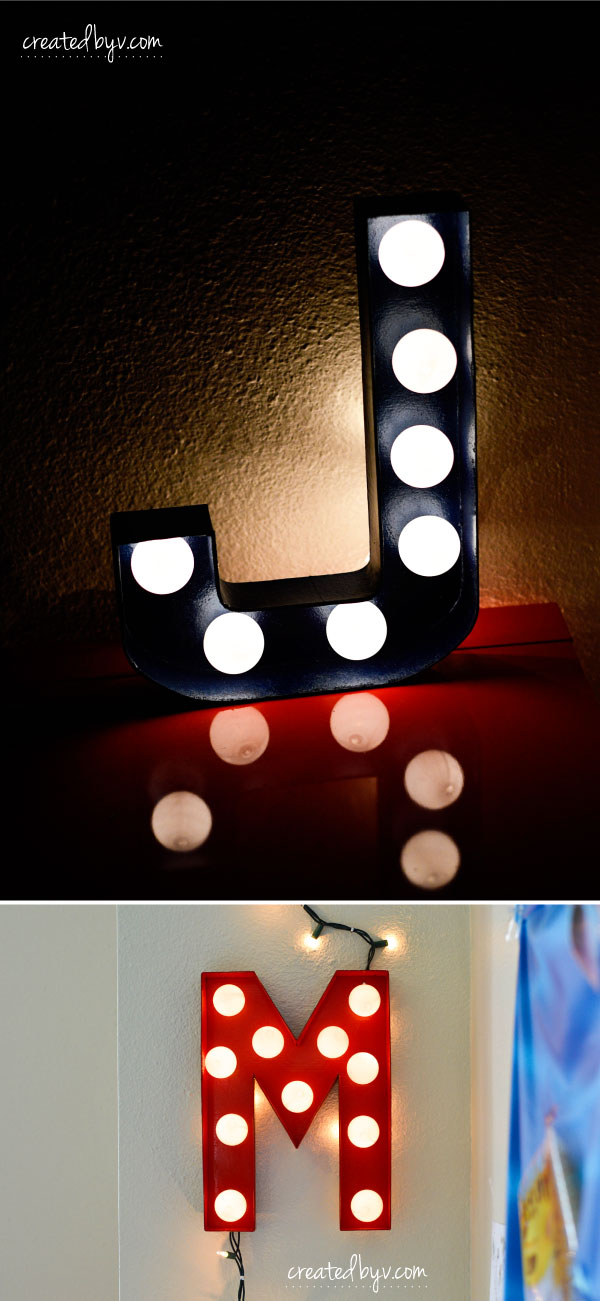
And my son loves having his name up in lights!

So what word would you make? Share your ideas below!
Thanks for reading! — v.